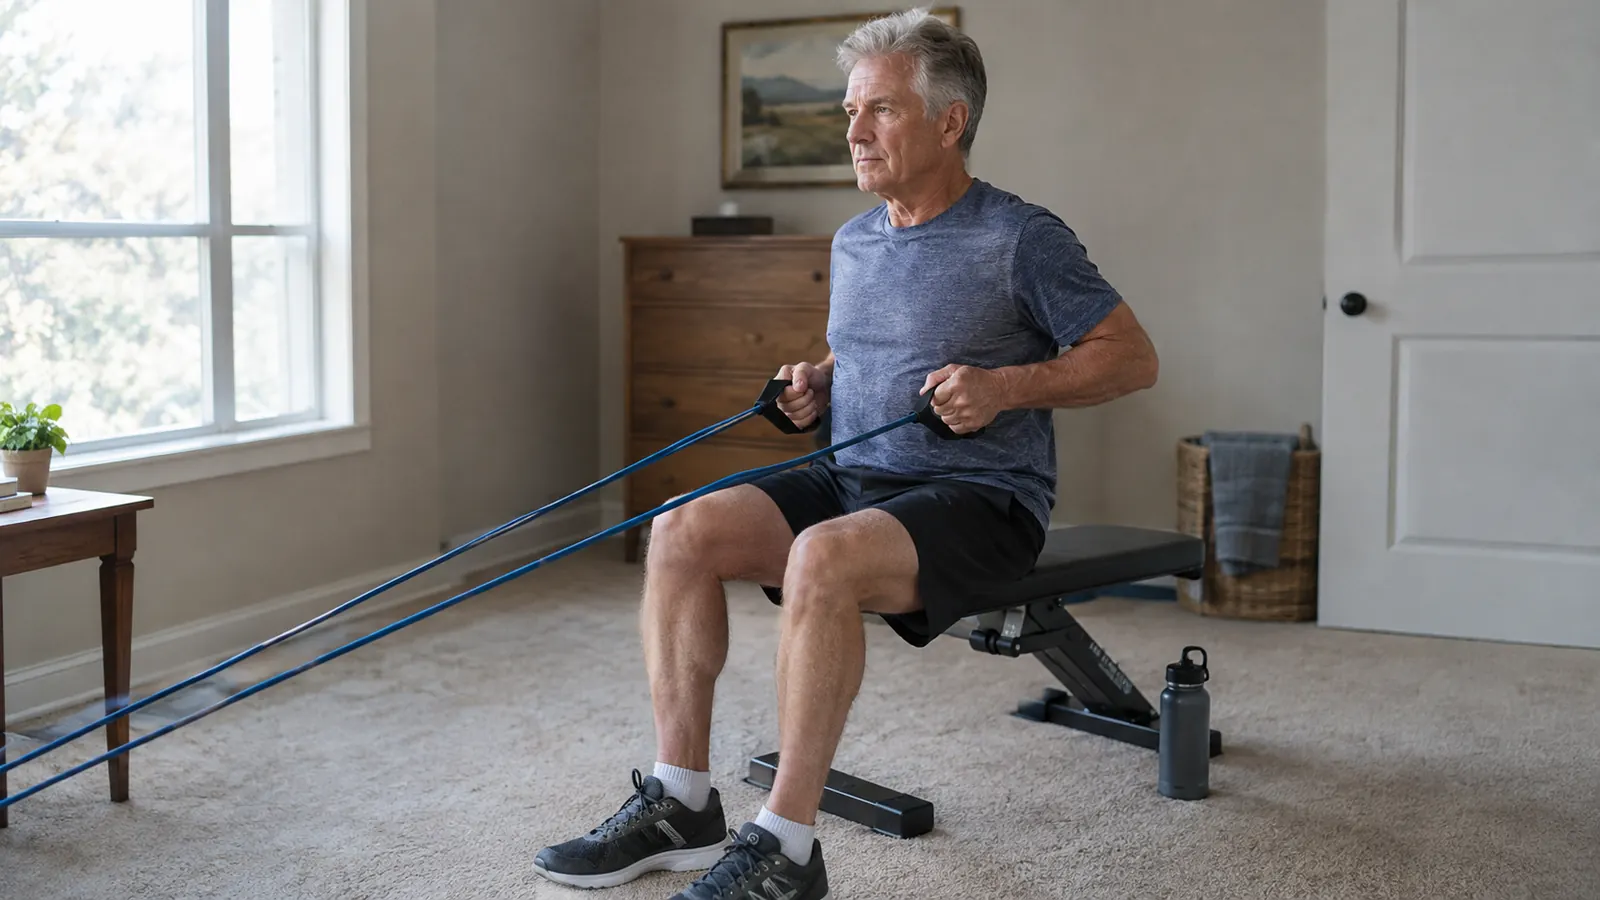
Three winters ago my doctor told me something I did not want to hear. He said the thing most likely to take my independence was not my heart or my blood pressure. It was leg strength. He said that when you lose the strength to get out of a chair without using your arms, or to catch yourself on an icy step, everything else starts to slip. That same winter I took a fall on the porch step, and it scared me straight. I started strength training at home at 66, in the spare bedroom, with bodyweight moves and a rack of old garage-sale dumbbells. About fourteen months ago I added a set of WHATAFIT resistance bands with handles, and they changed how often I train and how much I enjoy it.
This guide is the path I wish someone had walked me through back then. It is not a fitness influencer program. It is a neighbor explaining how to start, what to buy, how to do the five moves that matter most, and what to do when your knee or your back complains. I am not a doctor or a physical therapist, so check with your own physician before you start anything new. That is not a disclaimer I am tacking on. It is the same advice I would give you across the kitchen table.
Start With the Band Set That Made Me Consistent
The WHATAFIT resistance band set comes with five levels of resistance, two handles, ankle straps, and a door anchor. It is the piece of gear that took me from training twice a week to four times a week, because it makes every major move possible in one 11 by 12 foot room.
Amazon Check Today's Price on Amazon →Step 1: Clear a Space and Set a Time
You do not need a garage or a basement. My gym is the spare bedroom, about 11 by 12 feet, carpeted, with a rubber mat over part of the floor. That is enough room for every move in this guide. The first thing I did was move the boxes out of the corner and put down a mat so I was not standing on bare carpet in my socks.
Then I picked a time and treated it like part of the day, not something I squeezed in. For me that is mid-morning, after coffee and before lunch. Carol trains alongside me a couple of days a week, and on the other days she reads in the armchair while I work through the moves. The routine matters more than the equipment. The first month I did this with bodyweight moves and my old garage-sale dumbbells, long before I bought the bands. The first week I tried training right after dinner and it failed. I was full, the light was bad, and I quit after ten minutes. Moving it to mid-morning fixed it.
Start with three days a week, every other day. That gives your muscles a day to recover, which matters more at our age than it did at 30. Put it on the calendar like an appointment. If you wait for motivation, you will be waiting a long time. I have been training for about three years now, and there are still mornings I do not feel like it. I do it anyway, and I have never once regretted it after the first five minutes. I also keep the bands in a small basket beside the mat. Out of sight meant out of mind for me, and the basket cost three dollars at the hardware store.
Step 2: Learn the Band Setup Before You Learn the Moves
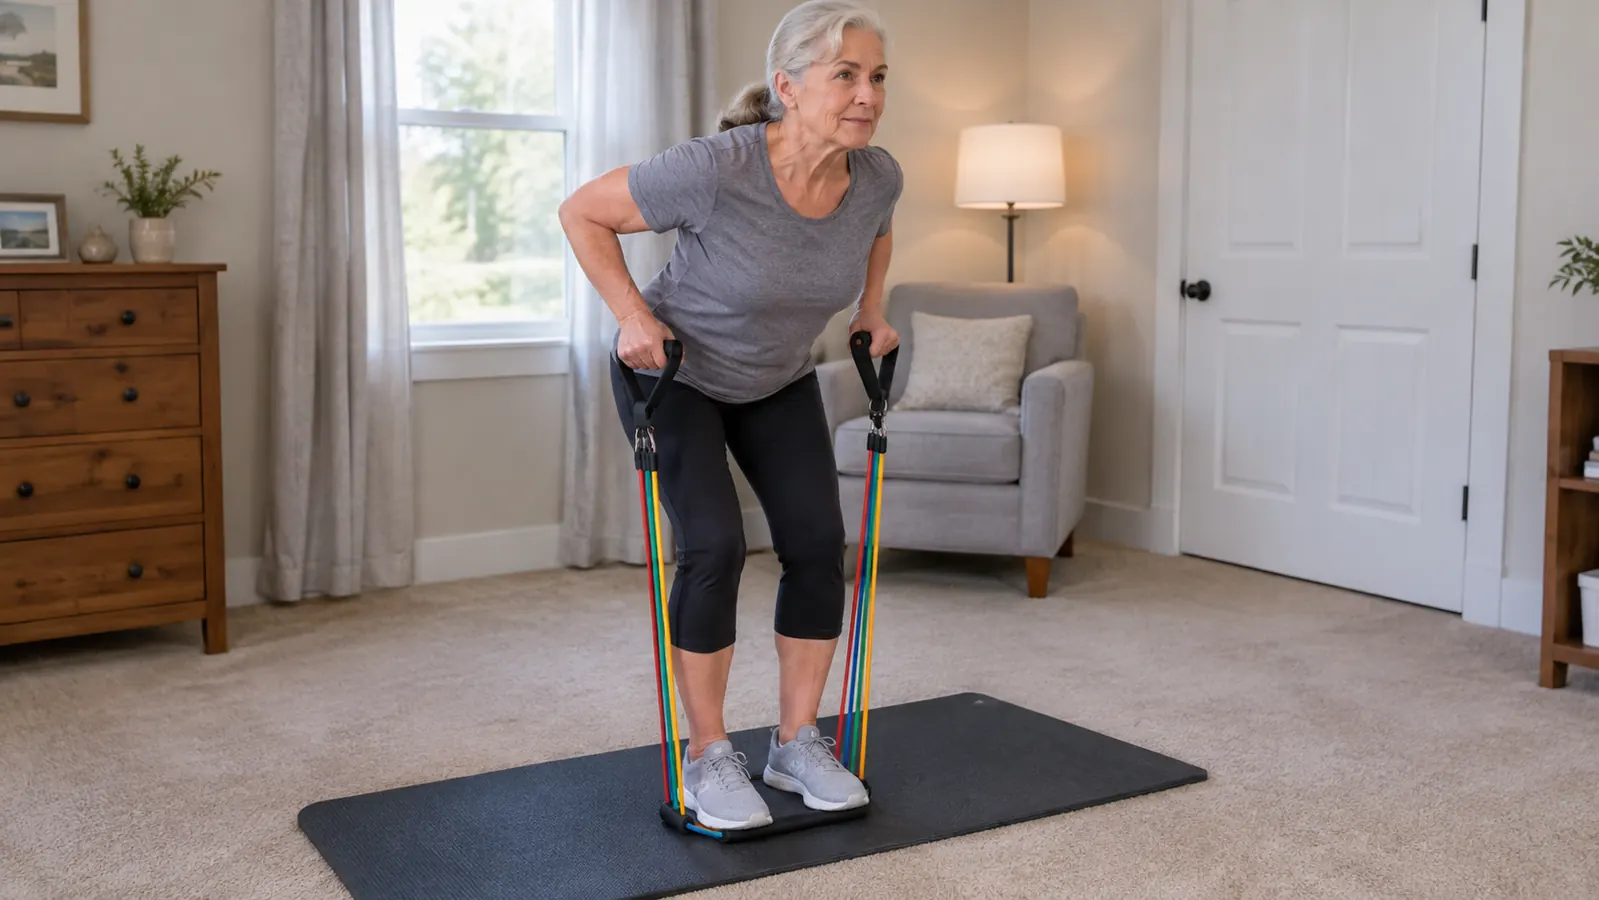
The WHATAFIT set comes with five bands in different resistances, two handles, ankle straps, and a door anchor. The bands clip onto the handles with clips that snap on and off. It took me about ten minutes the first time to figure out which band goes with which handle, and now it takes seconds. The lightest band is for shoulder work and for warming up. The heaviest is for rows and squats. You will learn which is which by feel, and that is fine. The first time I used the door anchor, the strap slid down mid-press. I learned to set it high, above the hinge, and pull the door shut until it clicked. Now it stays put.
The two setups you need to know are the handle setup and the door anchor. For the handle setup, you clip a band to each handle and stand on the middle of the band. That gives you an instant row or an instant shoulder press with nothing to attach. For the door anchor, you slip the anchor over the top of a closed door, clip a band to the loop, and close the door. That turns any doorway into a cable machine. I use the door anchor for chest presses and lat pulldowns, and I use the standing setup for rows and shoulder work. The ankle straps took me a few tries. I use them for standing leg curls, and I had to watch a short video before I got the strap positioned right.
One thing I will tell you plainly: check the band for wear before every session. Run it through your hands once, look for nicks or fraying, and replace a band the day you find one. I have had my set for fourteen months and the bands still look new, but I check anyway. A band that snaps mid-move is not worth the savings.
Step 3: Master the Five Moves That Matter Most
You do not need fifteen exercises. You need five, done consistently. These are the ones my doctor and my own back have approved: a seated row, a chest press, a squat, a shoulder press, and a deadlift-style hinge. Together they cover your back, chest, legs, shoulders, and the lower back that complains when I sit too long.
For the seated row, sit on the floor with your legs straight, loop the band around your feet, and pull the handles toward your waist, squeezing your shoulder blades. For the chest press, run the band behind your back at chest height and press both handles forward. For the squat, stand on the middle of the band with your feet hip-width apart, hold the handles at your shoulders, and sit back like you are reaching for a chair. For the shoulder press, stand on the band and press both handles overhead. For the hinge, stand on the band, hold the handles at your hips, and push your hips back while keeping your back flat, then stand tall. The first time I tried the squat with the heaviest band, my knee complained within two reps. I dropped to the lightest band and did the move slowly, and it felt like a different exercise.
Start with the lightest band that lets you complete 10 to 12 repetitions with good form, and the last two reps should feel challenging but not painful. If a move hurts your knee or your back, stop and try a lighter band or a smaller range of motion. My left knee has mild osteoarthritis, so I keep my squats shallow and I never lock my knees at the top. That is not weakness. That is how you train for another 20 years. One Tuesday last fall, my back flared because I rushed the hinge. I spent two days with a heating pad, and that was the day I decided form mattered more than any band color.
Step 4: Build a Simple Weekly Routine
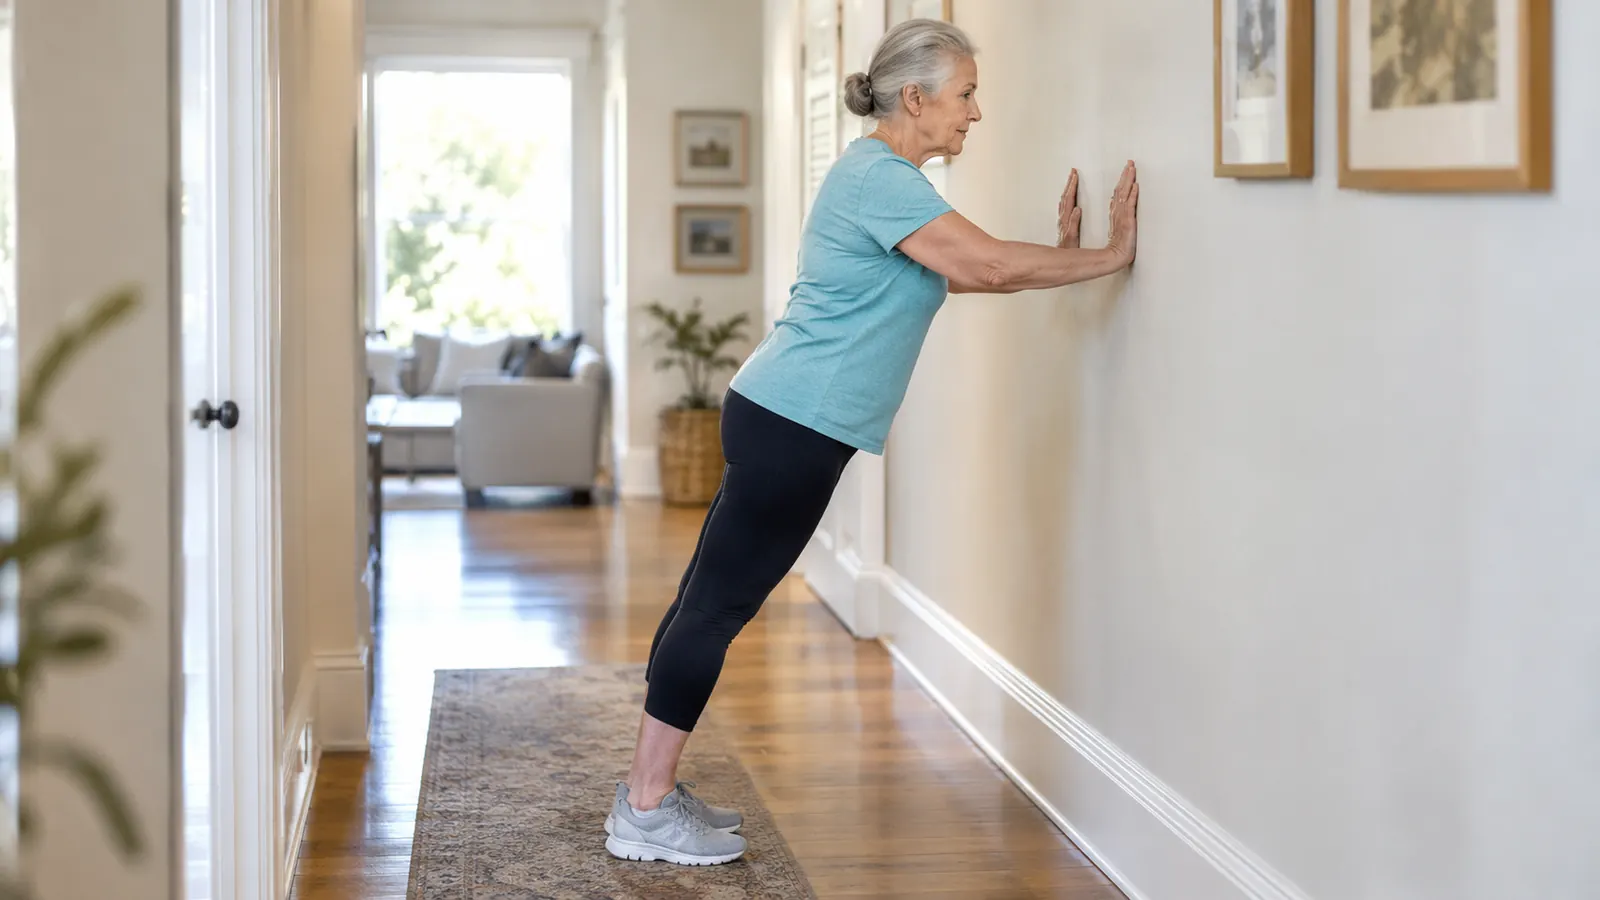
Here is the routine I have been doing for the better part of a year, and it takes about 30 minutes. On Monday, Wednesday, and Friday I do two sets of each of the five moves above, 10 to 12 reps per set, resting about a minute between sets. On Tuesday and Thursday I do a lighter session: a walk, the balance pad, and some band work for my shoulders, which have always been tight.
The key is that the routine is boring on purpose. There is nothing clever about it, and that is why I stick with it. I do not have to think about what comes next. I know the order, I know the bands, I know how many reps, and I am done before the coffee in my system wears off. Carol does the same routine a couple of days a week, and she has noticed the same thing I have: the moves get easier, and then you move up a band.
When a move starts to feel easy at 12 reps, that is your signal to move up one band level, not to add more reps. The WHATAFIT set has five levels, so you have room to progress for a long time. I started on the lightest band for rows and I am now on the middle band for rows and the second-lightest for shoulder work. Progress is slow, and slow is fine.
Step 5: Listen to Your Body and Keep a Log
The most important piece of equipment in my home gym is a spiral notebook. I write down the date, the moves, the band color, and the reps. That sounds like homework, but it is the single thing that kept me going. When I look back at the first month, I can see that I could barely do eight rows with the lightest band, and now I do twelve with a heavier one. The notebook shows progress that my memory would never admit. I can tell you the week in September when I moved from the second band to the third on rows, because I wrote it down.
I also write down what hurt. If my lower back complained after a session, I write that down too, and then I adjust. Usually the fix is simple: I was leaning too far forward on the hinge, or I skipped my warm-up. The warm-up is not optional. Five minutes of easy band work, marching in place, and arm circles before the real session has saved me more aches than any other habit. I also learned to warm up on the balance pad before band work, not after. Doing it after meant I often skipped it. Now I stand on the pad for two minutes while I do arm circles, and my ankles feel steadier.
And if something hurts in a sharp way, not a muscle burn, stop and call your doctor. I am not a medical professional, and I do not play one in this article. A dull burn in the muscle is training. A sharp pain in the joint is information. Learn to tell the difference, and you will train safely for years.
What Else Helps
The bands are the center of my routine, but a few cheap things around them made the difference between a hobby and a habit. A rubber mat protects the carpet and gives you a stable surface. A folding weight bench gives me a place to sit for rows and a support for chest presses. A balance pad, which I use a few minutes a day while I brush my teeth, has helped my ankles feel steadier. And my wife Carol uses her own mat and the balance pad on the days she trains with me. None of these are required. Start with the bands and a mat, and add the rest only if you find yourself reaching for them.
I have had my WHATAFIT bands for fourteen months now, and they have outlasted every other piece of gear in my spare bedroom because they actually get used.
Your Spare Bedroom Is Big Enough
You do not need a gym membership or a garage full of iron. You need a door, a chair, and a set of bands that makes every major move possible in one small room. The WHATAFIT resistance band set is the one I have used four days a week for fourteen months, and it is still going strong.
Amazon Check Today's Price on Amazon →