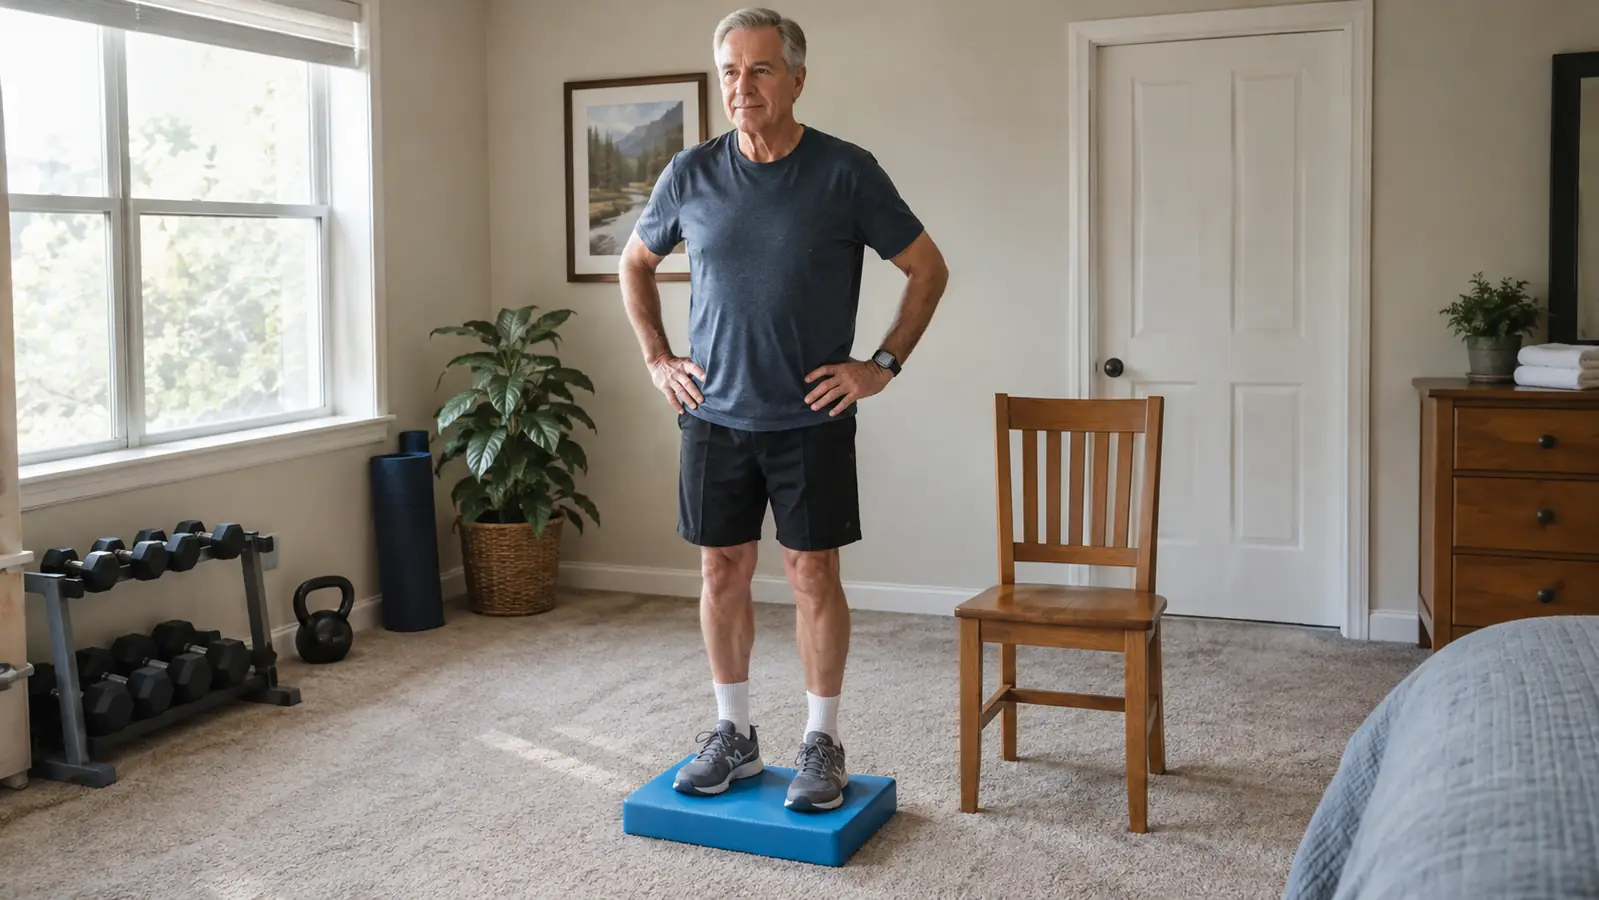
The fall happened on the porch steps three winters ago. Icy step, wet boots, and I went down hard enough to sit still for the rest of the afternoon counting my blessings. No broken bones, but my doctor said something that stayed with me. He said losing leg strength and balance was the thing most likely to take my independence, more than my stiff left knee or my lower back. He did not lecture me. He just laid out the math, and the math was simple. If I wanted to keep living the way I was living, I needed to work on my legs and my balance. That conversation is why I turned our spare bedroom into a small home gym at 66, and why, two and a half years later, a balance pad became one of the last things I added to it.
A balance pad is a thick slab of cushioned foam that you stand on. It sounds too simple to matter, but standing on an unstable surface makes the small muscles in your ankles, knees, and hips do real work. The ProsourceFit Exercise Balance Pad is the one on my floor, and I have used it nearly every day for six months. This article walks through the routine I built with it, step by step, the way I would explain it to a neighbor over the fence. It is not a fancy program. It is what actually worked for a 69-year-old retired mail carrier with a stiff knee and a lower back that complains when he sits too long.
The pad that has been on my floor for six months
If you want to follow along with the same equipment, the ProsourceFit Exercise Balance Pad is the one I use. It is firm enough to challenge you and soft enough that your ankles will forgive you.
Amazon Check Today's Price on Amazon →Step 1: Stand on it before you do anything else
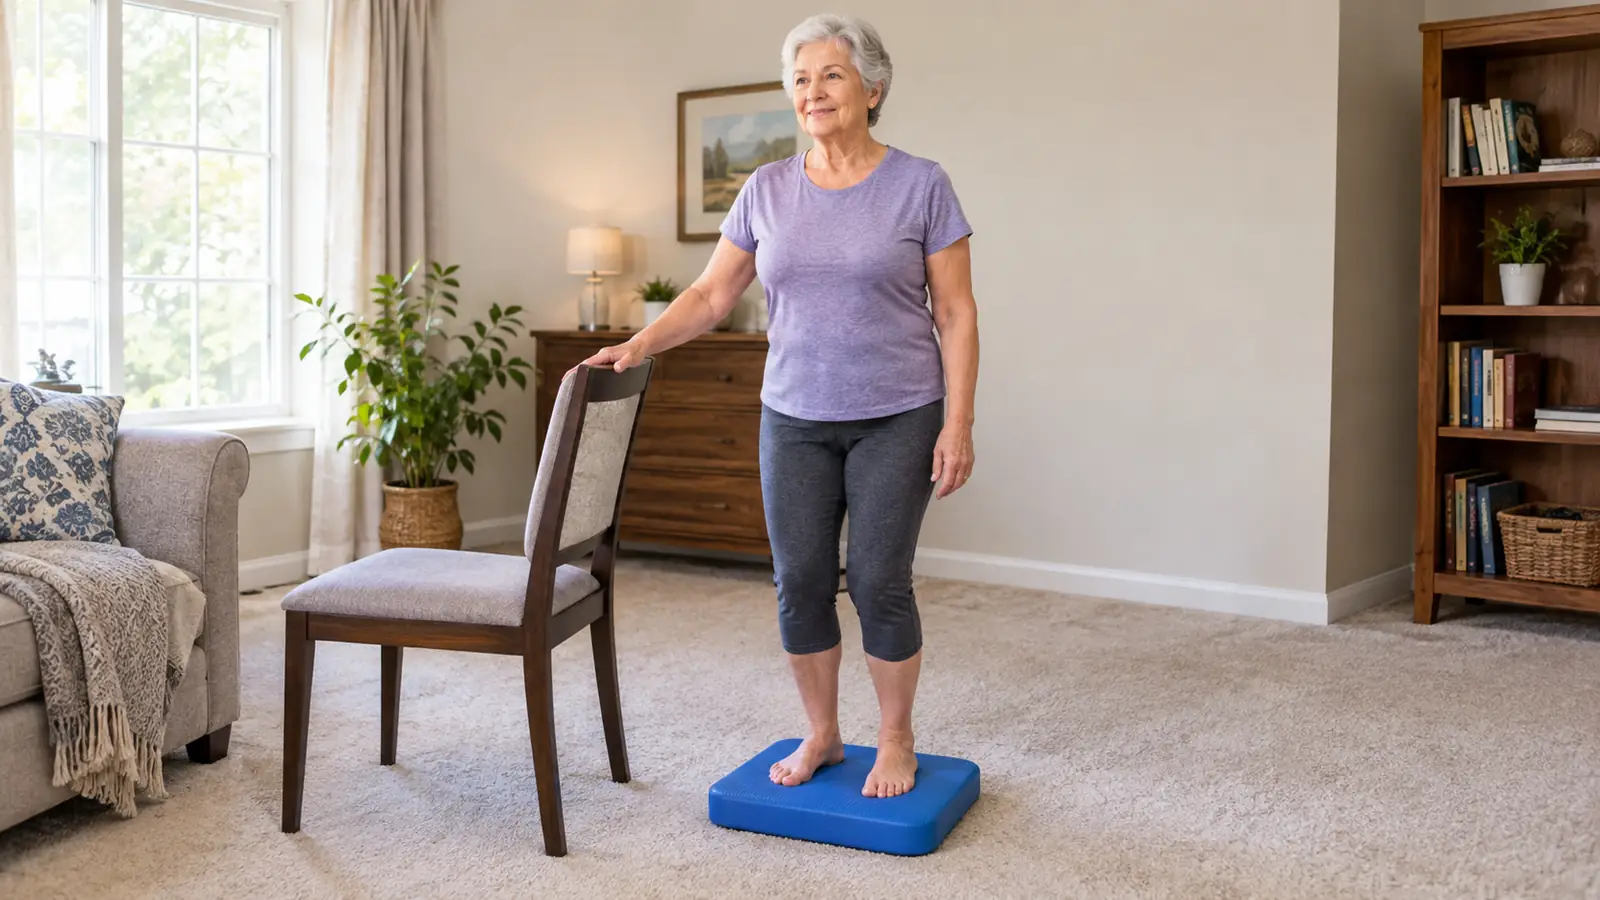
The first time I stood on the pad, I was surprised at how much work my ankles were doing within a few seconds. You do not have to do anything athletic. Just stand on it with both feet, near a kitchen counter or a sturdy chair, and let your body get used to the surface. Thirty seconds is plenty for the first few sessions. I did exactly that for about a week before I tried anything else. The goal of this step is not to build strength. The goal is to let your brain learn that this surface moves, and to practice making the tiny corrections that keep you centered.
Keep one hand on the counter if you feel unsteady. I did for the first several days, and Carol did too when she started a few weeks later. There is no shame in that. A cushioned foam pad moves under you in ways a hard floor does not, and your body genuinely needs time to learn how to balance on something that gives. If you rush this step, you will grab for support anyway, so you might as well start with your hand already there. Steady wins this game.
The other thing I learned in week one: bare feet are better than shoes. You get more feedback from the pad through your feet, and your toes can grip the surface. Socks are fine on the carpet next to the pad, but I take them off when I step on. It sounds like a small detail, but it made the first week noticeably easier. If the pad is new, give it a day or two to flatten out after you unpack it.
Step 2: Shift your weight, then lift one foot
Once standing on the pad felt normal, I started shifting my weight slowly from one foot to the other, the way you rock side to side when you are waiting in line. After a few days of that, I tried lifting one foot an inch or two off the pad and holding it for a few seconds. The first time I tried it, I grabbed the back of the chair pretty fast. That is normal. The point is the practice, not the performance. Each time you lift your foot and hold, even for two seconds, you are teaching your ankle and hip muscles to make the kind of corrections that keep you upright on uneven ground.
Aim for five or six weight shifts on each side, then three or four short single-leg stands per leg. Keep the lifted foot low. You are not trying to impress anyone. You are building a skill, and skills are built with small, controlled repetitions. If you feel steady after a week or two, hold the single-leg stand a little longer. If you do not feel steady, stay where you are. There is no deadline.
My left knee has mild osteoarthritis, and it complained at first during single-leg stands. I learned to keep the lifts small and to stop for the day when the knee talked back. The pad will still be there tomorrow. If you have a joint that acts up, treat it the same way: work around it, not through it. And if the pain is sharp rather than achy, stop and talk to your doctor before you continue. That is the line I use for myself.
Step 3: Add movement while you balance
Real life does not ask you to stand still very often. You reach for a dish on a high shelf. You turn to look behind you. You lean over to pick something up off the floor. That is why the next step is adding movement while you balance on the pad. I started by reaching for things on a shelf beside me, then turning my head slowly left and right, then lifting my arms overhead and holding them there for a few seconds. Each movement shifts your center of gravity, and your legs have to answer for it.
This is where the pad earns its keep. Standing on a stable floor, these moves are easy. Standing on a cushioned foam pad, they force your ankles and hips to make dozens of tiny corrections every minute. Over a few weeks, I noticed those corrections happening in daily life too, on the porch, in the kitchen, on the uneven ground along the road where I walk. That transfer is the whole reason to do this. You are not training to stand on a pad. You are training to move through your day without grabbing for the wall.
One caution from experience: keep the movements slow. The first time I turned my head quickly while balancing, I felt a wobble run all the way down to my ankles. Slow is not cheating. Slow is how you build the habit of staying centered, and the speed will come on its own. I also do a version where I slowly reach down toward the floor, as if I were picking up a dropped key. I do not have to touch the floor. The movement alone, done slowly, trains the connection between my legs and my lower back.
Step 4: Progress on purpose, and keep a chair nearby
Once the basic moves felt easy, I made the exercises harder on purpose. I closed my eyes for a few seconds at a time. I held single-leg stands longer. I stood with my feet closer together. Each of these small changes is a real step up in difficulty, and each one is where the balance gains actually happen. Your body adapts fast. If you never raise the bar, you will plateau and lose interest. Progressing on purpose is what keeps the routine honest.
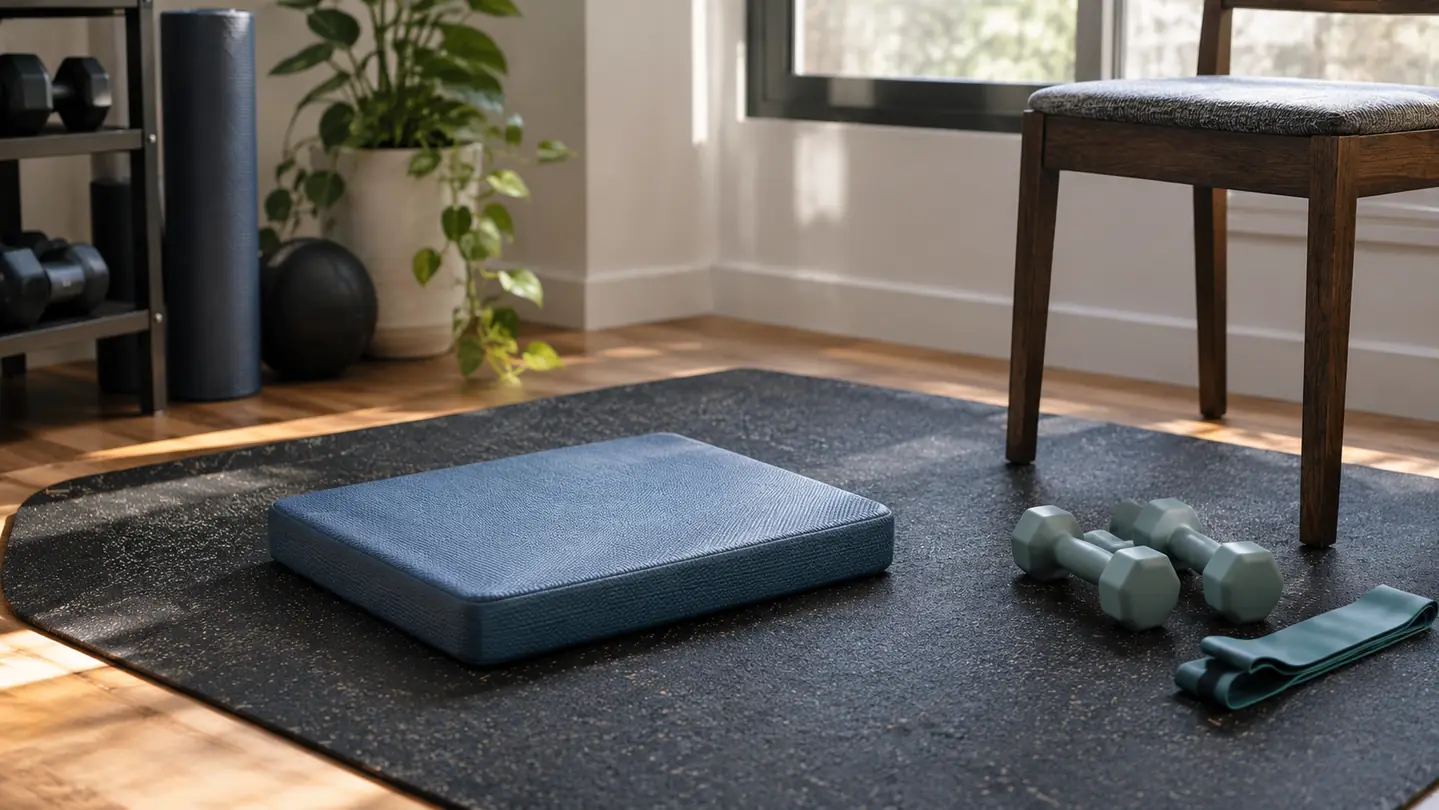
This is also where I will say plainly: be careful. Keep the chair or counter close enough to grab. Start with your eyes closed for just two or three seconds, not ten. If you have any doubt about whether a harder variation is safe for you, talk to your doctor or physical therapist first. I am not a medical professional. I am a retired mail carrier who fell on an icy step and decided to do something about it. I checked with my own doctor before I started, and I would want you to do the same.
The eyes-closed work made the biggest difference for me, so it is worth describing. When you close your eyes, your body has to rely on the signals from your feet and ankles instead of your vision. The first few times, I felt like I was swaying even when I was barely moving. That feeling fades. Within a month, I could close my eyes on the pad for ten seconds without grabbing the chair. It is the single most useful balance exercise I have found, and it costs nothing.
Step 5: Make it a daily habit, not a project
The routine I settled on takes about ten minutes, five or six days a week. I do it in the morning after coffee, before my knee has a chance to stiffen up. Some days it is just standing and shifting weight. Other days I run through the whole progression. The consistency matters more than any single session, and ten minutes is short enough that I have never talked myself out of it. A short routine you actually do beats a long routine you skip.
Carol, my wife, does the routine alongside me most mornings. She is 67 and started with one hand on the counter, same as I did. Six months in, we both still use the ProsourceFit pad most days. If you are wondering whether a balance pad is worth the floor space, that is the most honest answer I can give: it is the piece of equipment in our spare bedroom that gets used the most. Not the dumbbells. Not the bands. The pad.
I keep the pad out on the rubber mat, not stuffed in a closet. That is a small thing, but it matters. If the pad is already on the floor, I step on it without thinking. If I had to drag it out of a cupboard every morning, I would probably skip half my sessions. Put it somewhere you will actually see it. I also marked an X on the calendar for every day I did at least five minutes during the first month. That got me through the early weeks when the exercises felt too easy to matter.
What Else Helps
The balance pad is one tool, not the whole answer. Strength training with a pair of light dumbbells helped my legs more than anything else. Daily walks helped my endurance. Simple calf raises at the kitchen counter helped my ankles. The pad works best as part of a routine, not instead of one. If you are new to home exercise, do not buy a room full of equipment. A balance pad, a pair of dumbbells, and a sturdy chair are enough to start. Our spare bedroom is about 11 by 12 feet with a rubber mat over part of the carpet, and that has been plenty of room for everything I do.
One thing I would tell anyone starting out: give it a full month before you judge it. The first two weeks, I was not sure the pad was doing anything. Somewhere in week three or four, I noticed I was not reaching for the wall when I put my pants on standing up, and I stopped bracing myself on the counter when I got out of the shower. Those small moments are the proof that the work is paying off. They are easy to miss if you are looking for something dramatic.
Start slow, keep the chair nearby, and check with your own doctor before you begin. That is the advice I would give my own neighbor, and it is the advice I followed myself. I am not a physical therapist. I am just someone who fell, got scared, and found a routine that helped.
The first time I stood on the pad, my ankles were working within seconds. Six months later, it is still the first thing I use in the morning.
Start with the same pad that is on my floor
The ProsourceFit Exercise Balance Pad has held up to six months of daily use in my spare bedroom. If you want to try this routine, it is the one I would buy again.
Amazon Check Today's Price on Amazon →