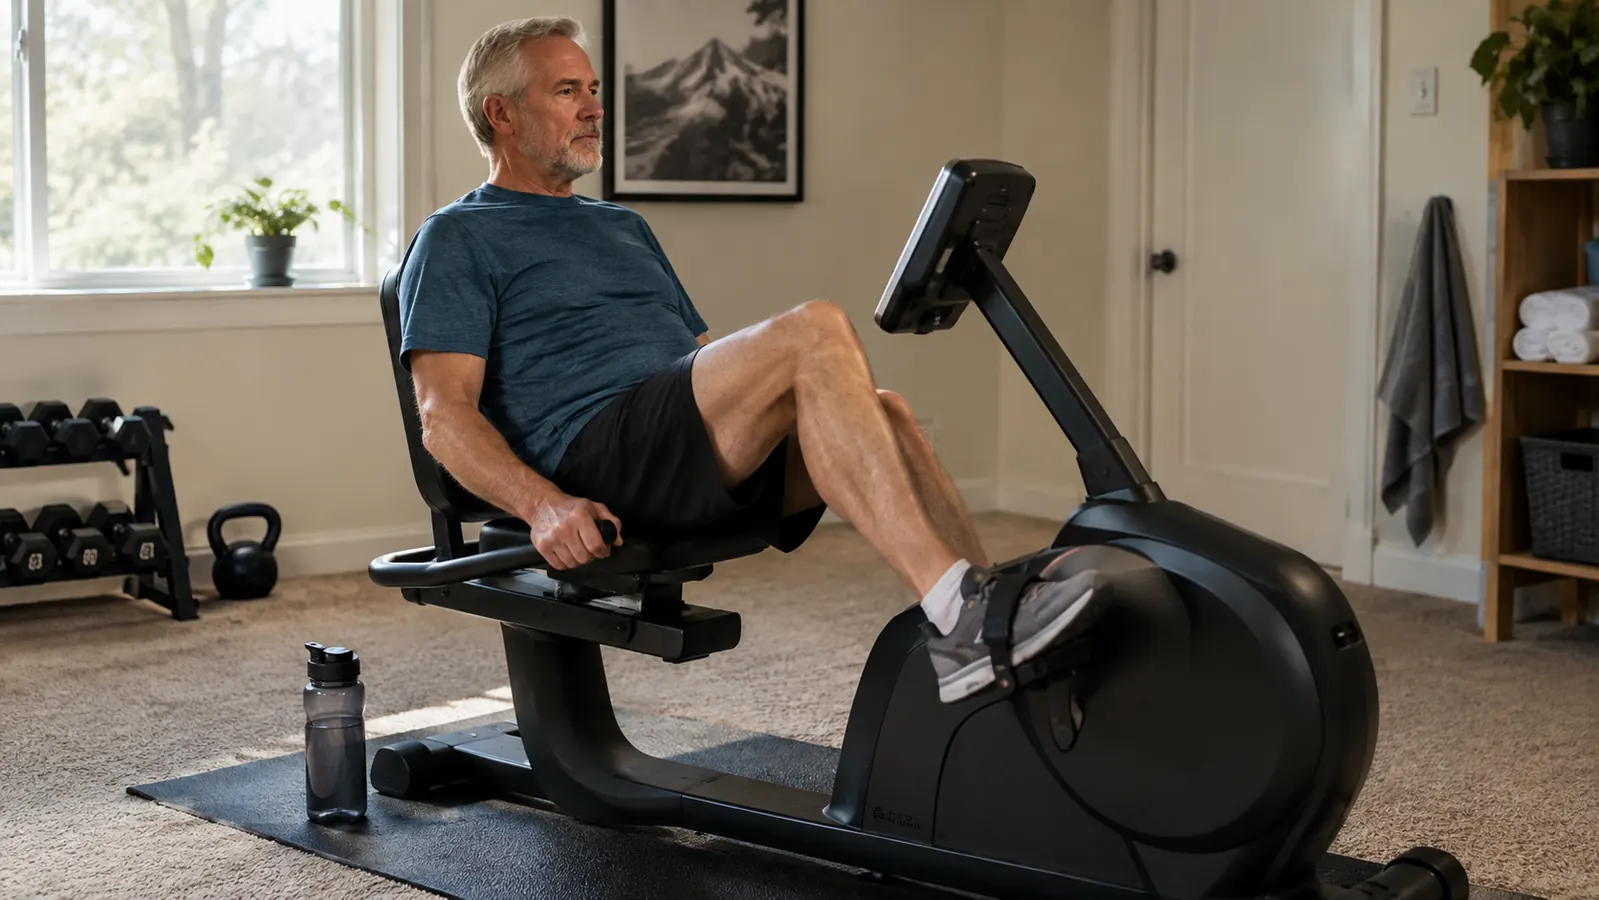
Three winters ago I took a bad step on an icy porch and went down hard. No broken bones, but it scared me more than I let on at the time. My doctor put it plainly: the thing most likely to take my independence was not my heart or my blood pressure. It was losing leg strength. That conversation is what pushed me to set up a small gym in our spare bedroom at 66, and the best machine I ever added to it was a recumbent bike.
The problem was that I needed cardio without punishing my left knee. It has mild osteoarthritis, and my lower back complains if I sit too long. Walking was fine until it was not. Jogging was out of the question. I tried a few things that did not stick before I landed on the Sunny Health & Fitness Smart Recumbent Bike, and I want to walk you through the routine that finally held.
The recumbent bike that helped me rebuild my legs
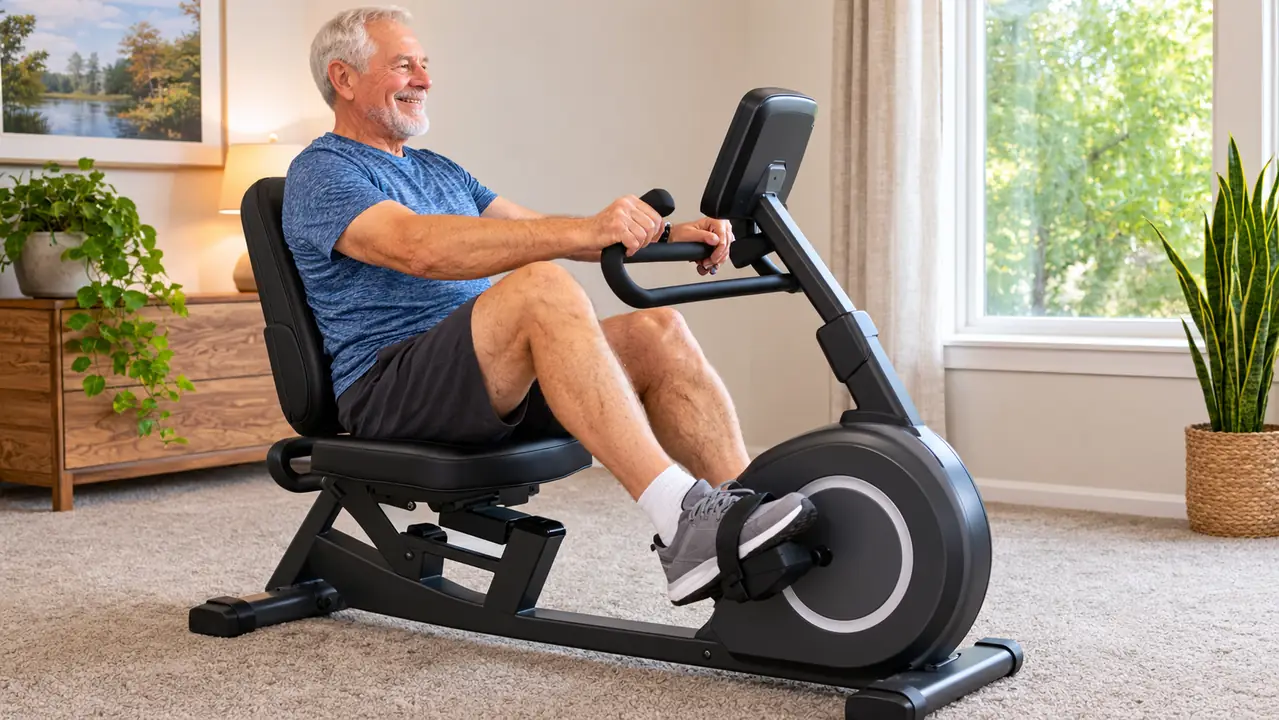
The Sunny Health & Fitness Smart Recumbent Bike has a wide cushioned seat and a backrest, so I can ride without my lower back complaining. It is the machine I reach for on days when my knee is stiff. Check today's price on Amazon.
Amazon Check Today's Price on Amazon →I want to be clear about what this article is and is not. It is not medical advice. I am a retired mail carrier, not a doctor, and what worked for my knee and my back may not work for yours. It is a plain account of how I went from being scared of stairs to riding a recumbent bike most mornings, and the steps I followed are simple enough that you can adapt them to your own situation.
Why a Recumbent Bike Made Sense for Me
I will be honest: I did not start with a recumbent bike. I borrowed an upright exercise bike from a neighbor first, and my back complained within ten minutes. The problem is that an upright bike puts your weight on your hands and your sit bones, and if your lower back is picky, that position gets old fast. A recumbent bike lets you sit back with your legs reaching forward, so your back has support the whole ride.
That is the reason the design matters for someone my age. The wide cushioned seat and the backrest are not luxuries. They are the difference between a machine I ride five days a week and a machine I would have given away by March. I also liked that the pedals are lower, which makes getting on and off easier than swinging a leg over a tall frame.
The Five Steps That Worked for Me
Step 1: Talk to your doctor or physical therapist first
I am not a doctor, and I am not going to pretend otherwise. Before I bought anything, I asked my doctor whether recumbent cycling was a reasonable way to build cardio with my knee and my back. He said yes, and he added two rules: start slow, and stop if anything hurt beyond normal muscle fatigue. That conversation shaped every decision I made afterward.
Your situation may be different. If you have had a joint replacement, heart trouble, or balance issues, the answer might be different too. A physical therapist can check your range of motion and show you how to set the seat so your knee tracks correctly. It is a short appointment that can save you months of guessing.
This is the step most people skip. They buy the machine, set it up, and push too hard in the first week, then quit when it hurts. I have been there. Getting the green light first is not red tape. It is the reason I could keep training instead of stopping after two weeks.
Step 2: Set up the bike where you will actually use it
Our spare bedroom is about 11 by 12 feet, carpeted, and I put a rubber mat under the bike so it does not rock and the carpet does not wear down. You do not need a garage or a basement. A corner of a bedroom works fine. The important part is that the bike stays visible. Out of sight means out of mind, and a machine folded into a closet is a machine you will not ride.
Adjusting the seat is the part people get wrong. On the Sunny Health & Fitness Smart Recumbent Bike, the wide cushioned seat slides forward and back. I set it so my knee has a slight bend at the bottom of the pedal stroke, not locked straight and not tucked too tight. The backrest takes weight off my lower back, which is the whole reason I chose a recumbent design over an upright bike.
Give yourself five minutes to fiddle with the seat distance and the handlebar position before your first ride. A bike that fits is a bike you will use. One that does not fit will make your knee or your back ache, and it will end up as a clothes rack. Take the time to get it right.
Step 3: Start with short rides and use the talk test
I started with ten minutes every other day. That felt almost too easy, and that is exactly the point. The goal in the first week is not to get a workout. The goal is to show up and let your body adjust to a new movement pattern. Your joints and your heart both need time to adapt.
For intensity, I use the talk test. If I can carry on a conversation but I am breathing a little harder than normal, that is the right zone. If I am gasping, I back off. If I can sing, I push a bit more. Heart rate monitors are useful, and the smart version of the Sunny Health & Fitness bike connects to an app, but the talk test works fine and needs no technology.
Ten minutes sounds small. Write it down anyway. The first week I did three rides of ten minutes. By the second week I was up to twelve. Small increases, no heroics. My knee stayed quiet, and that is what told me I was on the right track.
Step 4: Add time or resistance one small step at a time
Once ten minutes felt easy, I added two or three minutes per week instead of jumping straight to thirty. The rule I used was simple: change one thing at a time. Either add a few minutes, or add a little resistance. Never both in the same week. That keeps you from getting sore and blaming the bike.
This bike has several resistance levels, and I keep mine on the low-to-moderate end. The point of a recumbent bike for me is steady, low-impact cardio, not a leg press. I save the harder work for the strength exercises I do after the ride, which I will get to in a minute. Easy resistance also keeps my knee happy.
After about two months, I had worked up to thirty minutes, five days a week. Some days I do a steady ride. Other days I do a few short bursts where I pedal faster for a minute and then recover. That variety keeps it from feeling like a chore, and it gives my heart a little more to work with.
Step 5: Track what you did and build the habit into your day
Here is the part that made the difference for me: I write the date and the minutes on a calendar on the wall. Not an app, just a pen and a paper calendar. There is something about seeing a string of marks that makes you want to keep the streak going. Carol started doing the same thing when she takes her turn on the bike.
The smart features on this bike can track your rides for you, and that is fine if you like that kind of thing. I use them sometimes. But the habit matters more than the measurement. Pick a time of day, put it on the calendar, and treat it like an appointment with yourself. For me that is most mornings before breakfast, because if I wait until evening, life gets in the way.
One more thing: start with a warm-up. I pedal slowly for the first two minutes with no resistance, then ease into the ride. It gives the knee a chance to loosen up, and it makes the rest of the ride feel smoother. Cold starts are how people hurt themselves on exercise machines.
What I Wish I Had Known When I Started
I wish someone had told me that progress would feel boring for the first month. You are not going to see big changes in your legs or your wind right away. What you will see is that the same ten minutes gets a little easier, and then twelve minutes is not scary, and then one day you realize you are not thinking about your knee during the ride at all. That is the win, and it is a quiet one.
I also wish I had known not to compare myself to the numbers on the machine. The app and the display can show you all kinds of readings, and it is easy to treat them like a grade. I stopped caring about the numbers and started caring about the streak on the calendar. The streak is what builds the habit, and the habit is what builds the strength.
What Else Helps
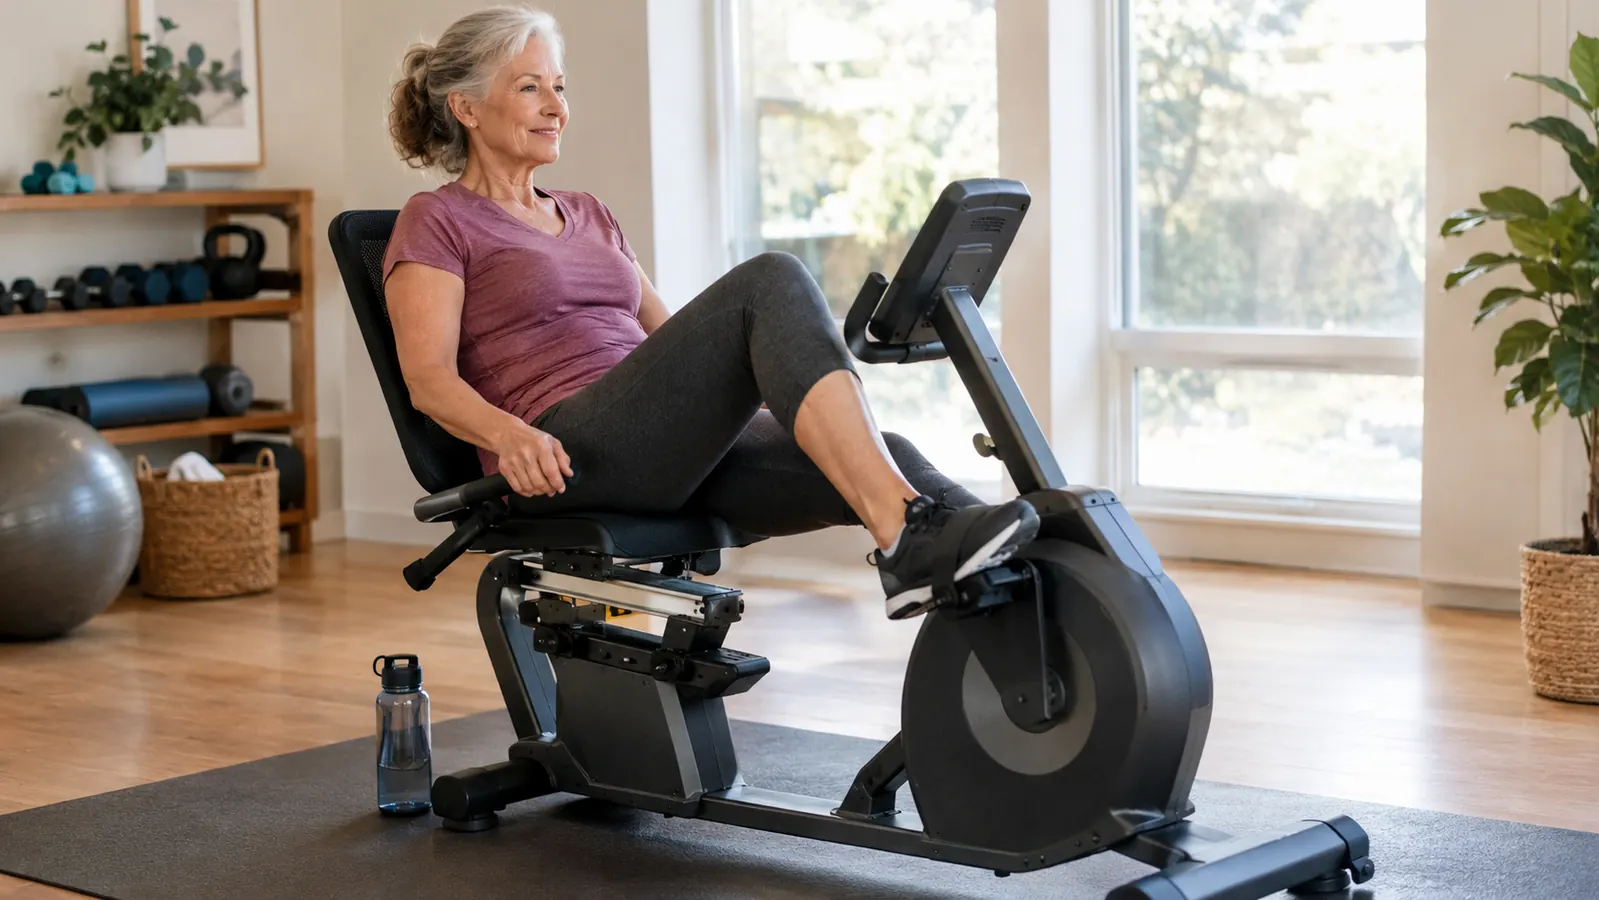
Cardio on the recumbent bike built my endurance, but it did not rebuild my legs by itself. My doctor was clear that leg strength is what keeps you independent. So I added a few simple things. Body-weight squats to a kitchen chair, five or six at a time. Standing on one leg while I brush my teeth, holding the counter at first. And a short walk most days, even if it is just to the mailbox and back. None of it is impressive. All of it adds up.
If you have a physical therapist, ask for a short list of leg and balance exercises that fit your situation. I am not qualified to hand you a program. I can only tell you that the bike gave me a place to start, and the strength work is what made the porch steps feel easier.
Carol and I also started doing a few minutes of stretching after our rides. Nothing fancy, just hamstring and calf stretches while we cool down. It gives the muscles a chance to settle and gives us a reason to stand up and move around before we go about the day. If you have a physical therapist, ask them which stretches are safe for you.
I started at ten minutes every other day. Eight months later I ride thirty minutes five days a week, and my knee has not swelled once.
When to Talk to Your Doctor Again
I will tell you the signs that made me check back in with my doctor. If a ride ever caused pain that lasted more than a day, or if my knee swelled after a session, I would have stopped and made a call. The same goes for chest pain, dizziness, or shortness of breath that does not settle quickly. Those are not things to push through, and they are not things to ask a stranger on the internet about.
The bike is a tool, not a treatment. It helped me build endurance and leg strength, but it did not fix my knee, and I never expected it to. If your joints are telling you something, listen to them. There is no shame in backing off for a day or two, and there is no prize for riding through pain.
The bike that made daily cardio possible without joint pain
The Sunny Health & Fitness Smart Recumbent Bike is the machine in my spare bedroom. It has a wide cushioned seat and a backrest, it is quiet enough to use while Carol watches TV, and it has held up to daily use for months. Check today's price on Amazon.
Amazon Check Today's Price on Amazon →